Quickstart
Atola TaskForce has a highly intuitive design. This guide will assist in quickly learning how to use TaskForce and image an evidence drive.
1. Start TaskForce
Switch on the power button on the back side of the system and wait for a message to appear on the small IP screen on the front panel. If TaskForce is connected to the local network with an Ethernet cable, IP addresses will be displayed, which can be entered in a Chrome browser on any device within the same local network. If no Ethernet cable is connected to it, TaskForce will start in Standalone mode; in this case you can use the main screen on top of the device.
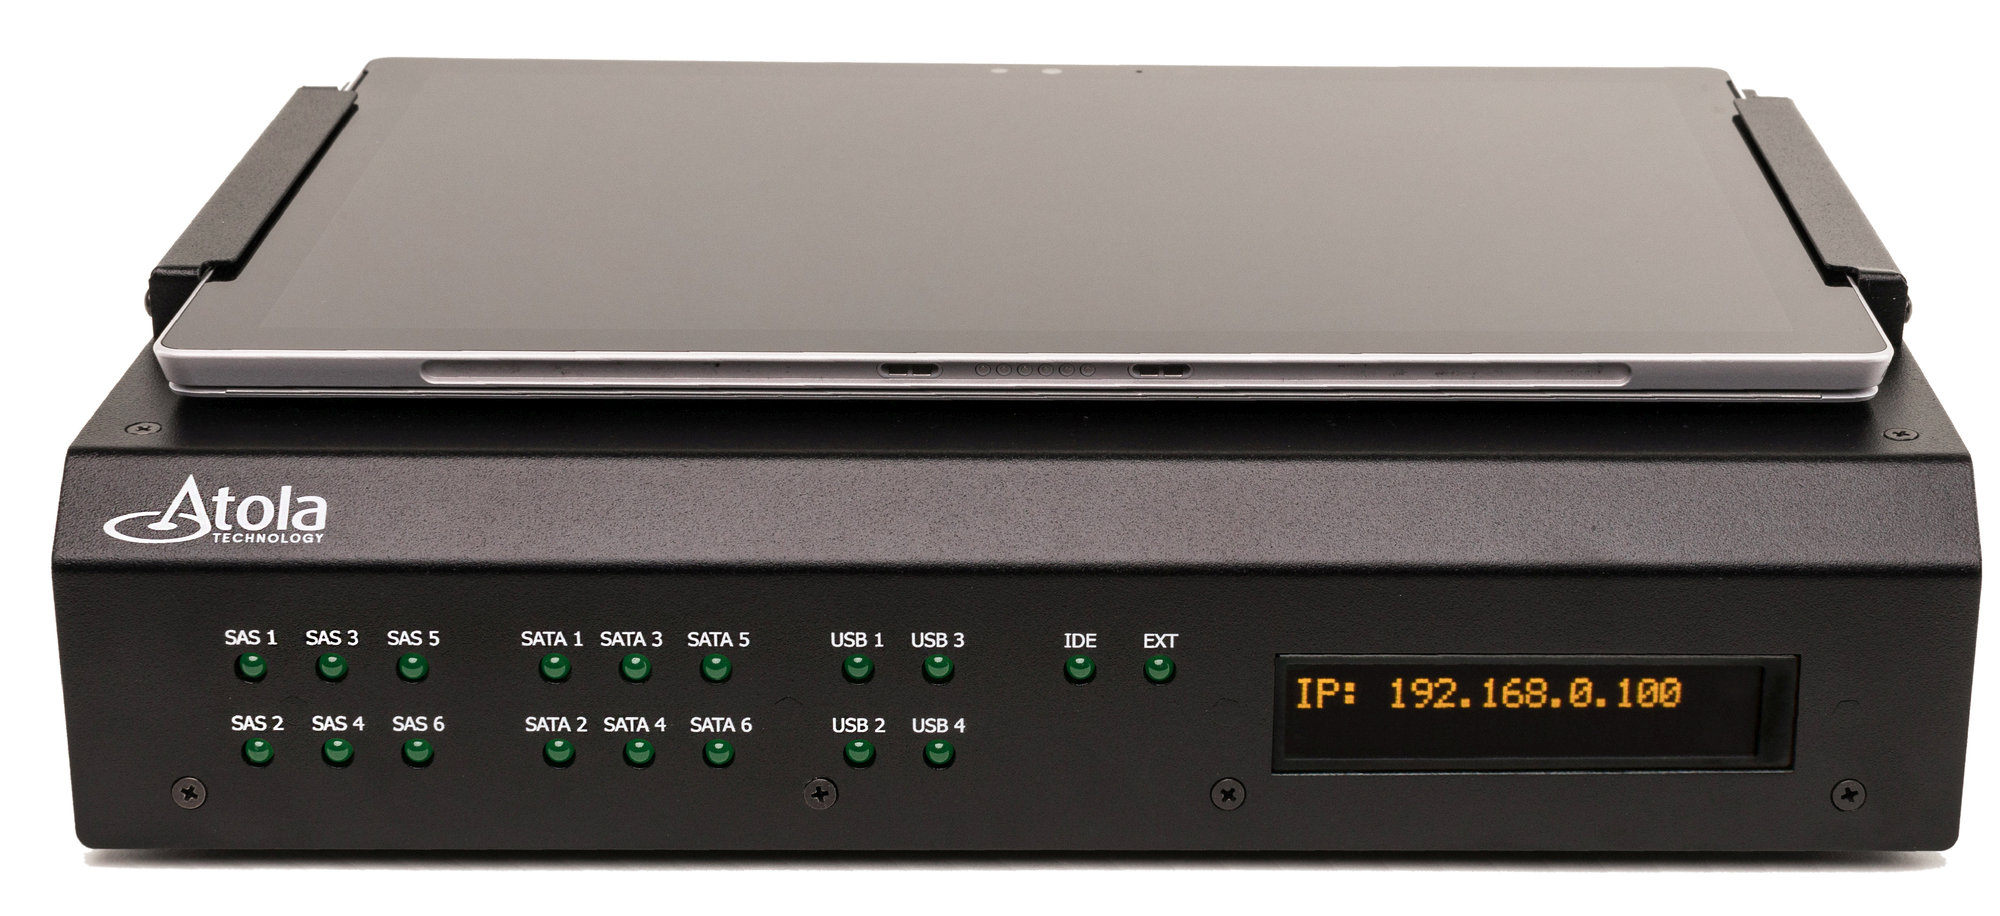
TaskForce shows network IP address to connect
2. Plug the source drive into the unit
Atola TaskForce has 18 ports, and each of them can be used as either a source or a target. Before connecting your evidence drive to the appropriate port, make sure the port is in the source mode, thus securing any command that can change the state of the drive from being applied to the evidence drive.
3. Diagnose the source drive
In the left-side menu click the Diagnose button and a slide-out Select device menu will appear.
In the appropriate category (SATA, SAS, USB, File, IDE or Extension*) select the source drive and click the START button. Diagnostics will take a couple of minutes. Should the state of the evidence drive be good, you can proceed to image it.
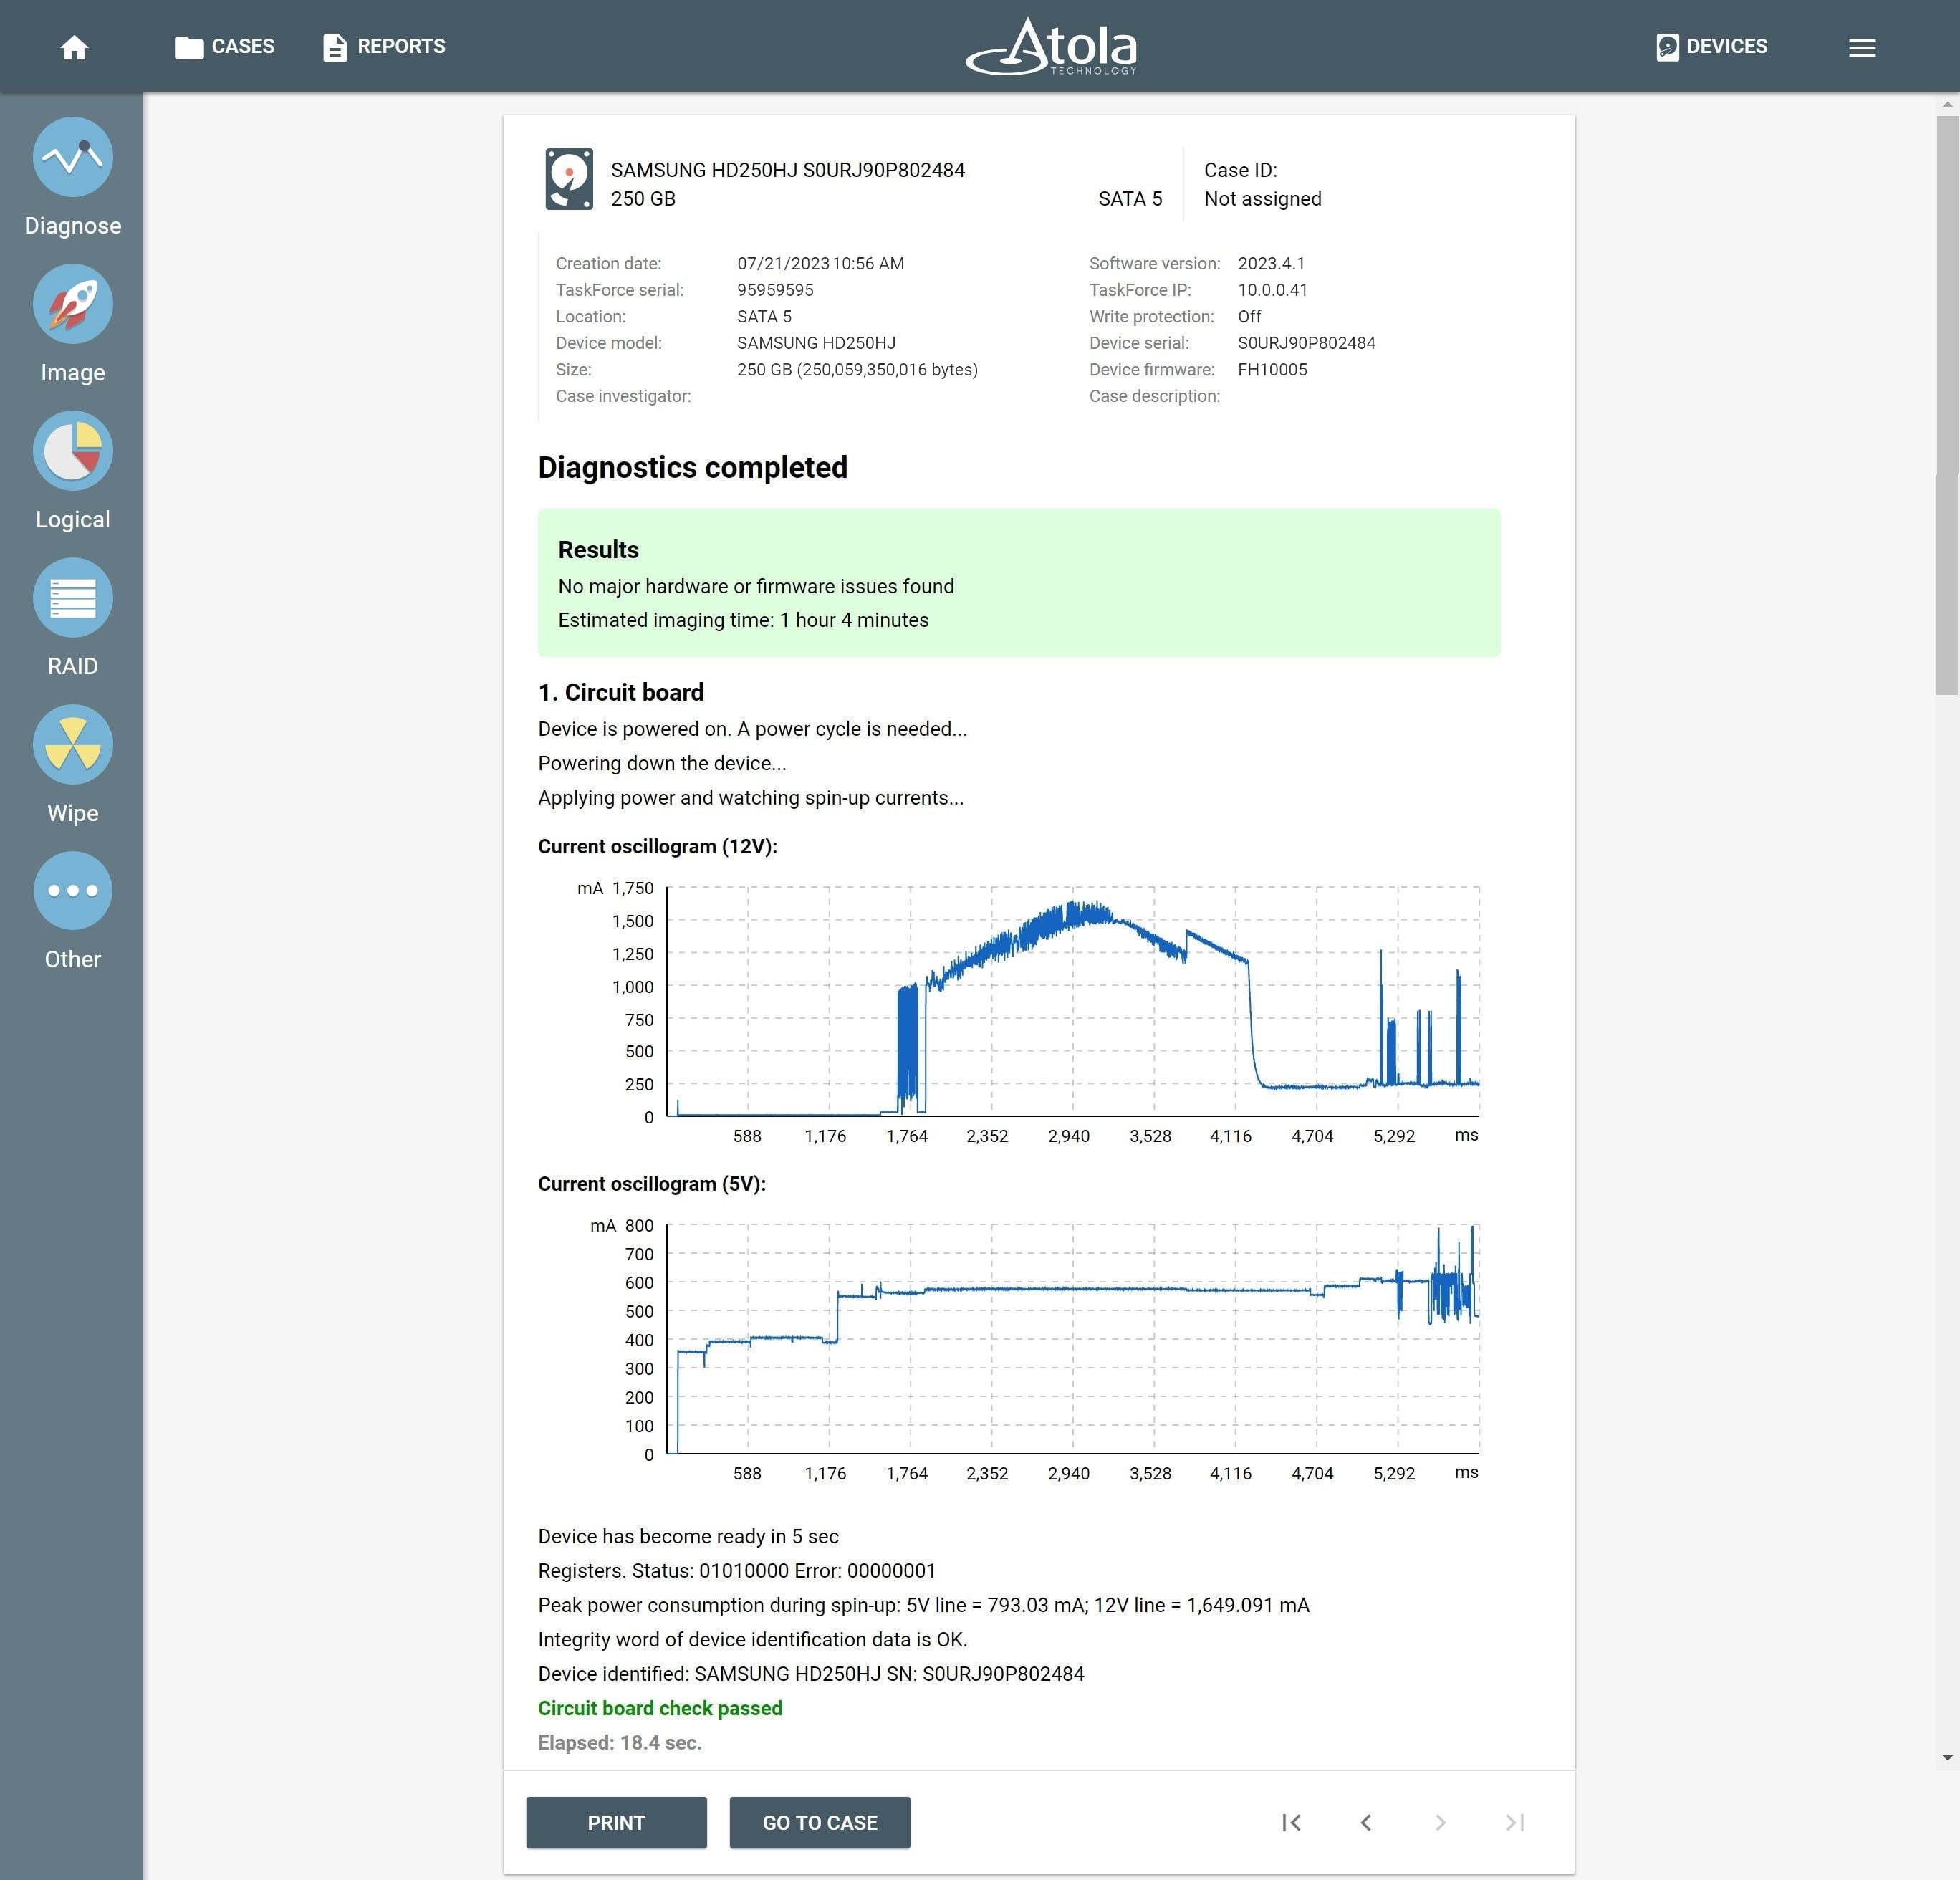
Diagnostics proves the drive is fine
4. Plug the target drive(s) into the unit
When connecting a target drive (or multiple targets), also make sure that the corresponding ports are set to target mode.
5. Start imaging
In the left-side menu click the Image button.
Select the source device you have diagnosed in the menu.
Select the targets in the menu. Once you have selected the source, a right-hand slide-out Select target device menu will appear. Under the same categories you can find and select a single target or multiple targets.
The Imaging initiation page lists the source drive and the case ID at the top of the page, the default settings applied to this imaging session and the list of Targets to be involved in this session. Click the Start button at the bottom of the page.
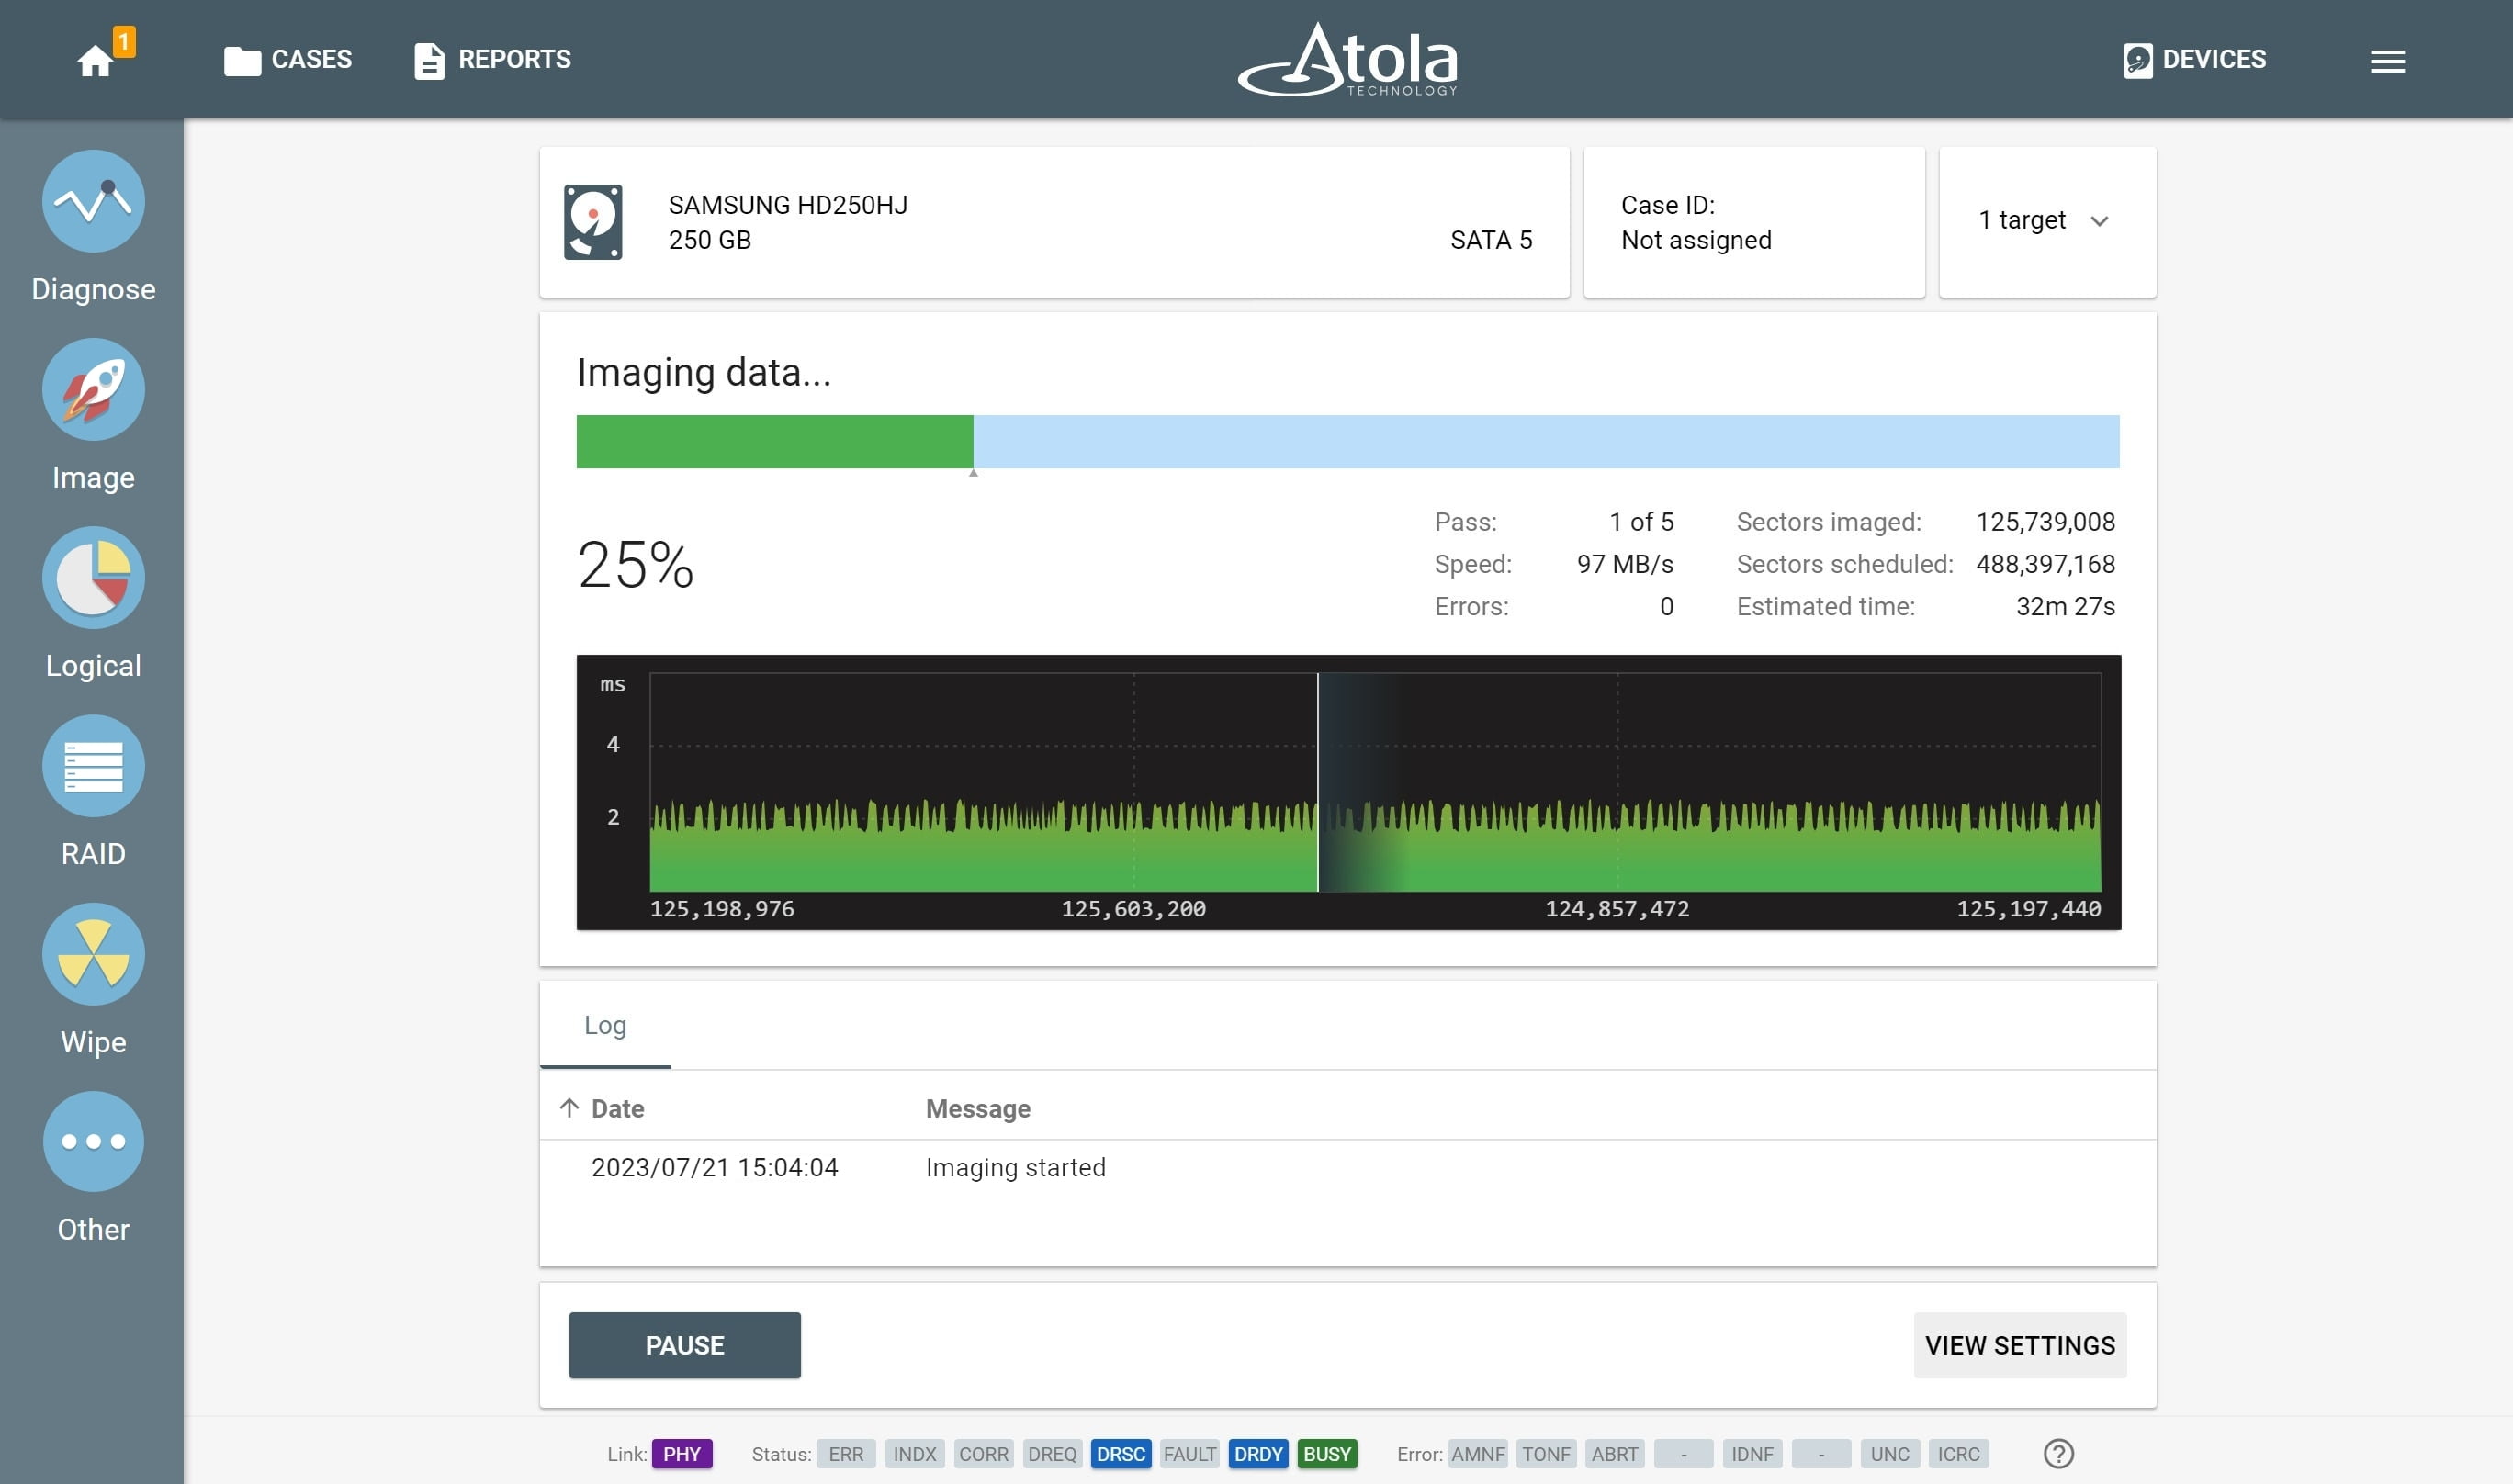
Image acquisition in progress