Printing reports from a case
When you work on an investigation and want to have complete information about the evidence drive and all operations that have been taken to diagnose, image, calculate hash, etc., you can address Atola TaskForce’s case management system to print out all reports concerning your evidence.
To do that:
- At the bottom of the case page, click Print.
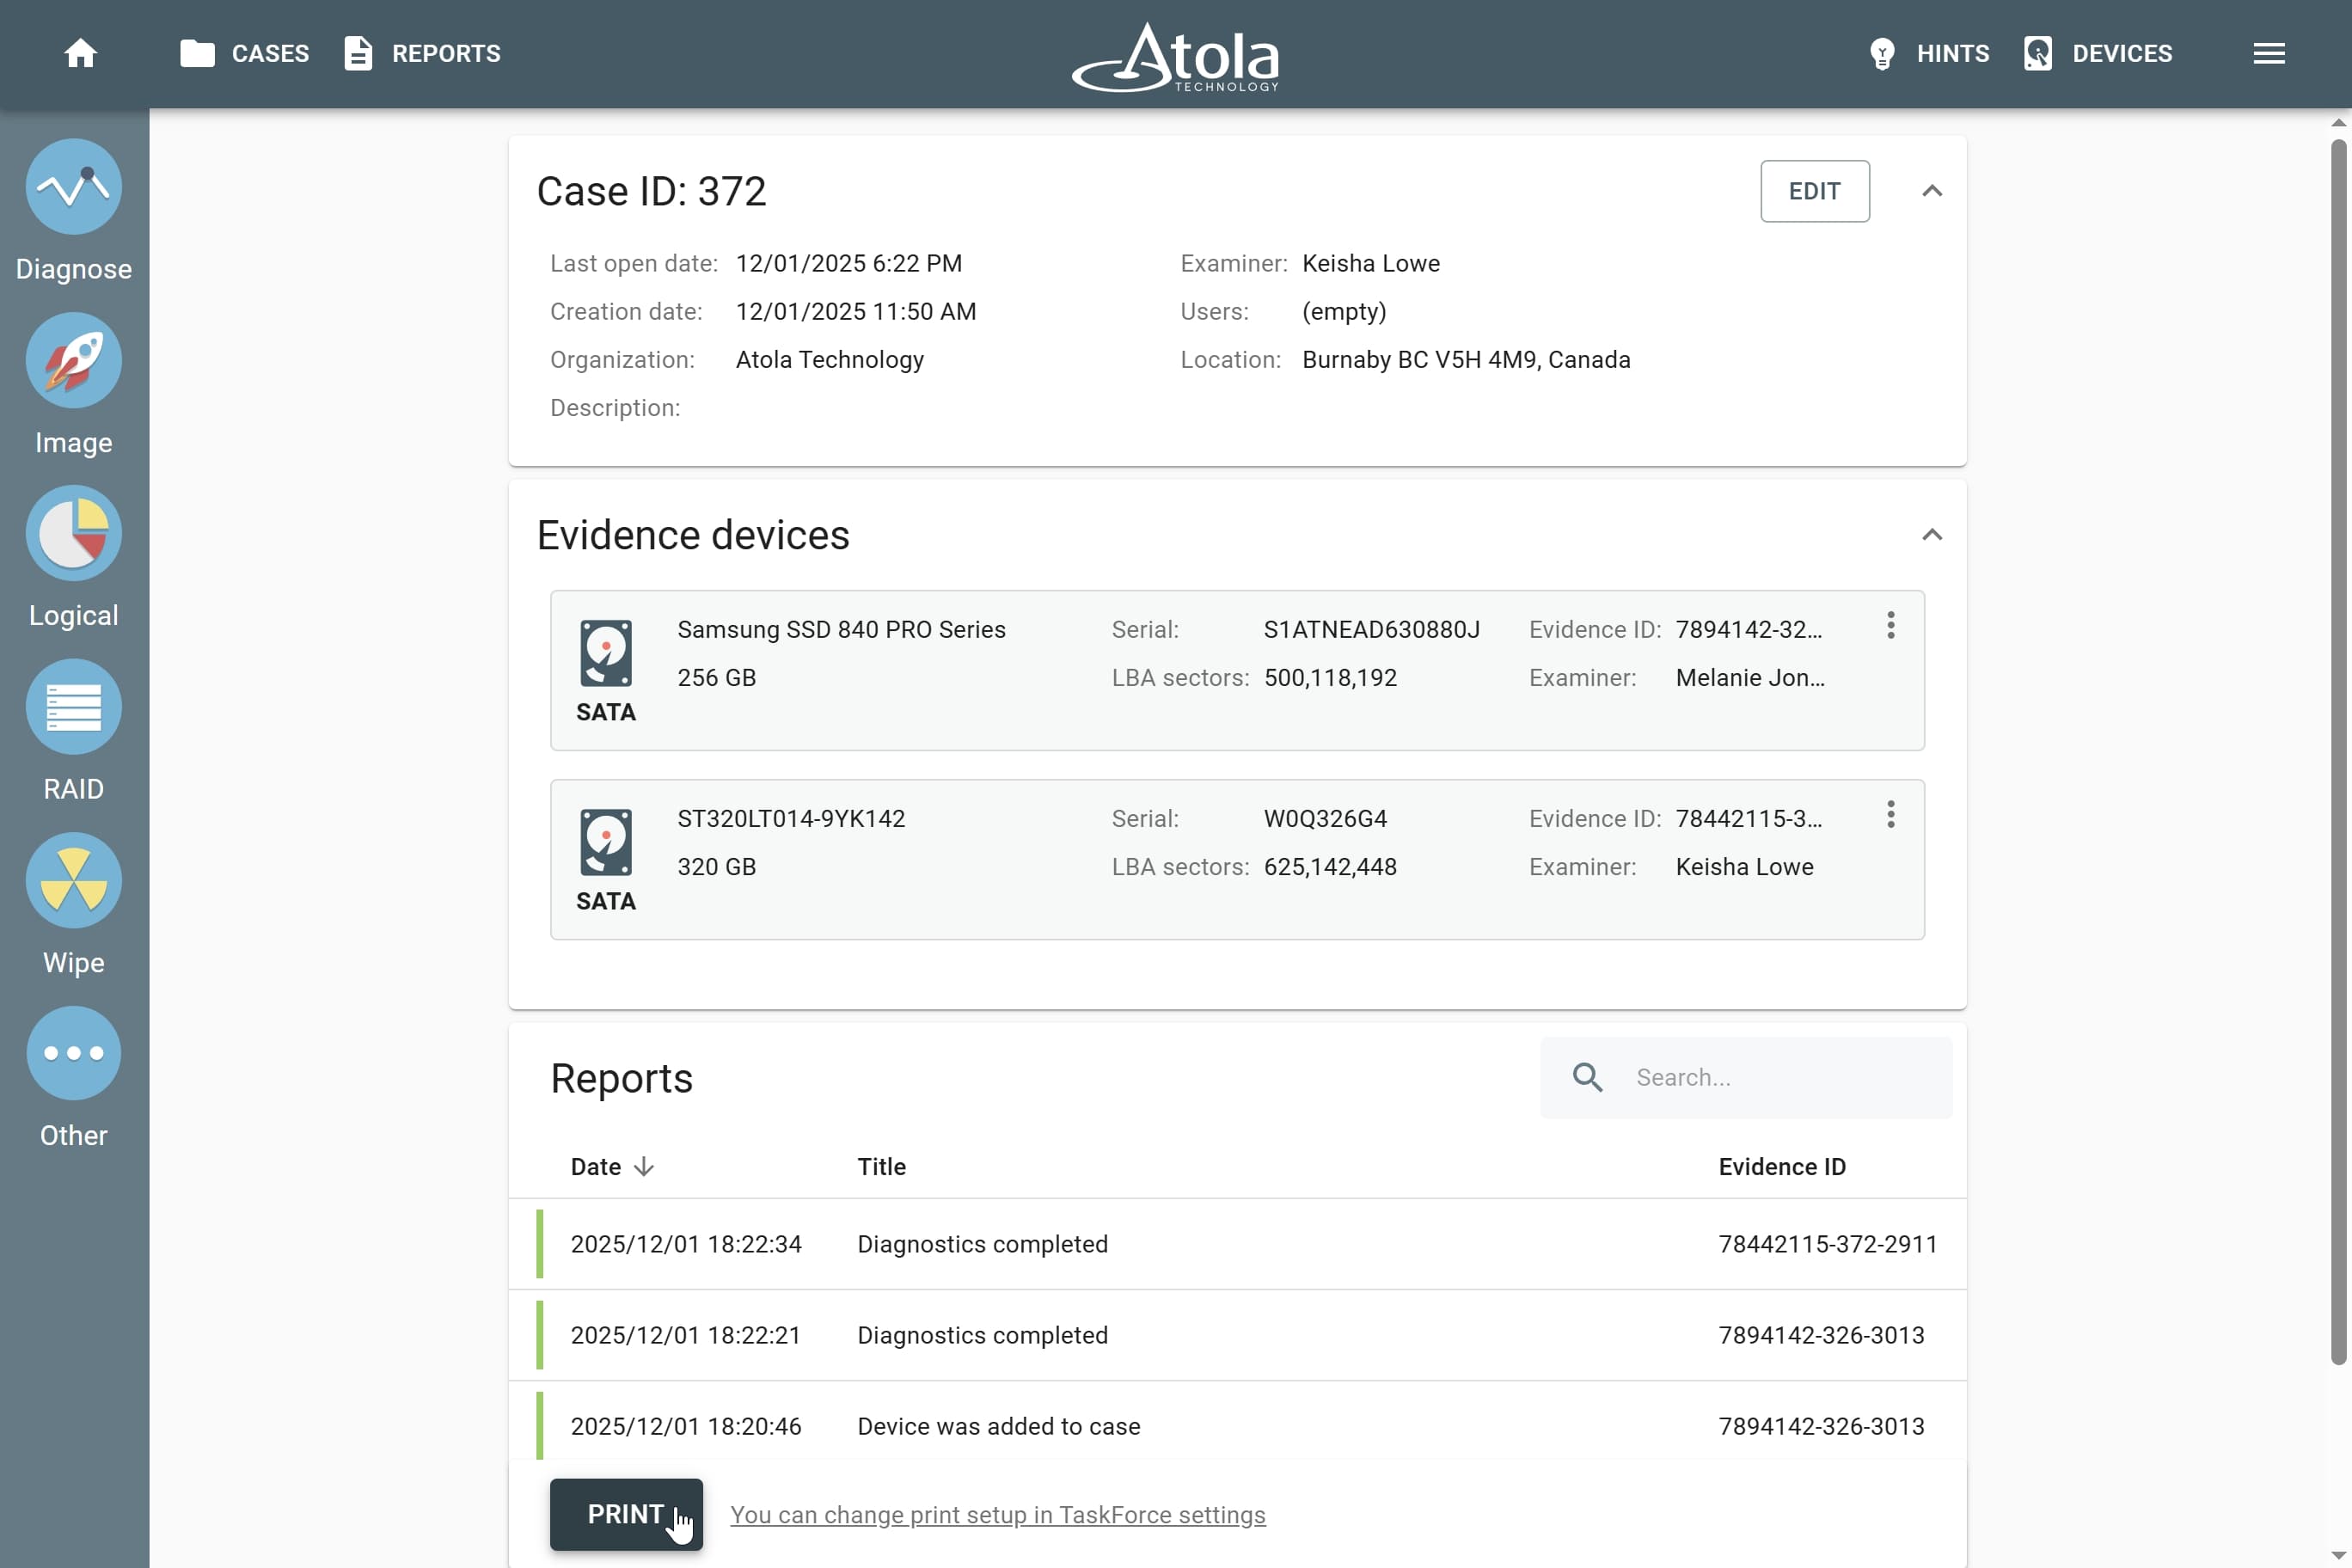
The Print button at the bottom on the case page.
- Optional: If you want the printed reports to include logs, go to Menu > Settings, scroll down to the Print settings section and toggle Logs.
Logs are parts of the reports that give detailed information about the start and the end of a task, problems encountered during the operation (for example, inability to read a sector within the time allocated for the operation), actions taken (for example, jumps from a bad sector, completed pass of imaging, performed resets and power cycles, etc.)
- Optional: If you want the printed reports to include the description of all storage devices contained in the current TaskForce system, go to Menu > Settings, scroll down to the Print settings section and toggle Information about unit's components.
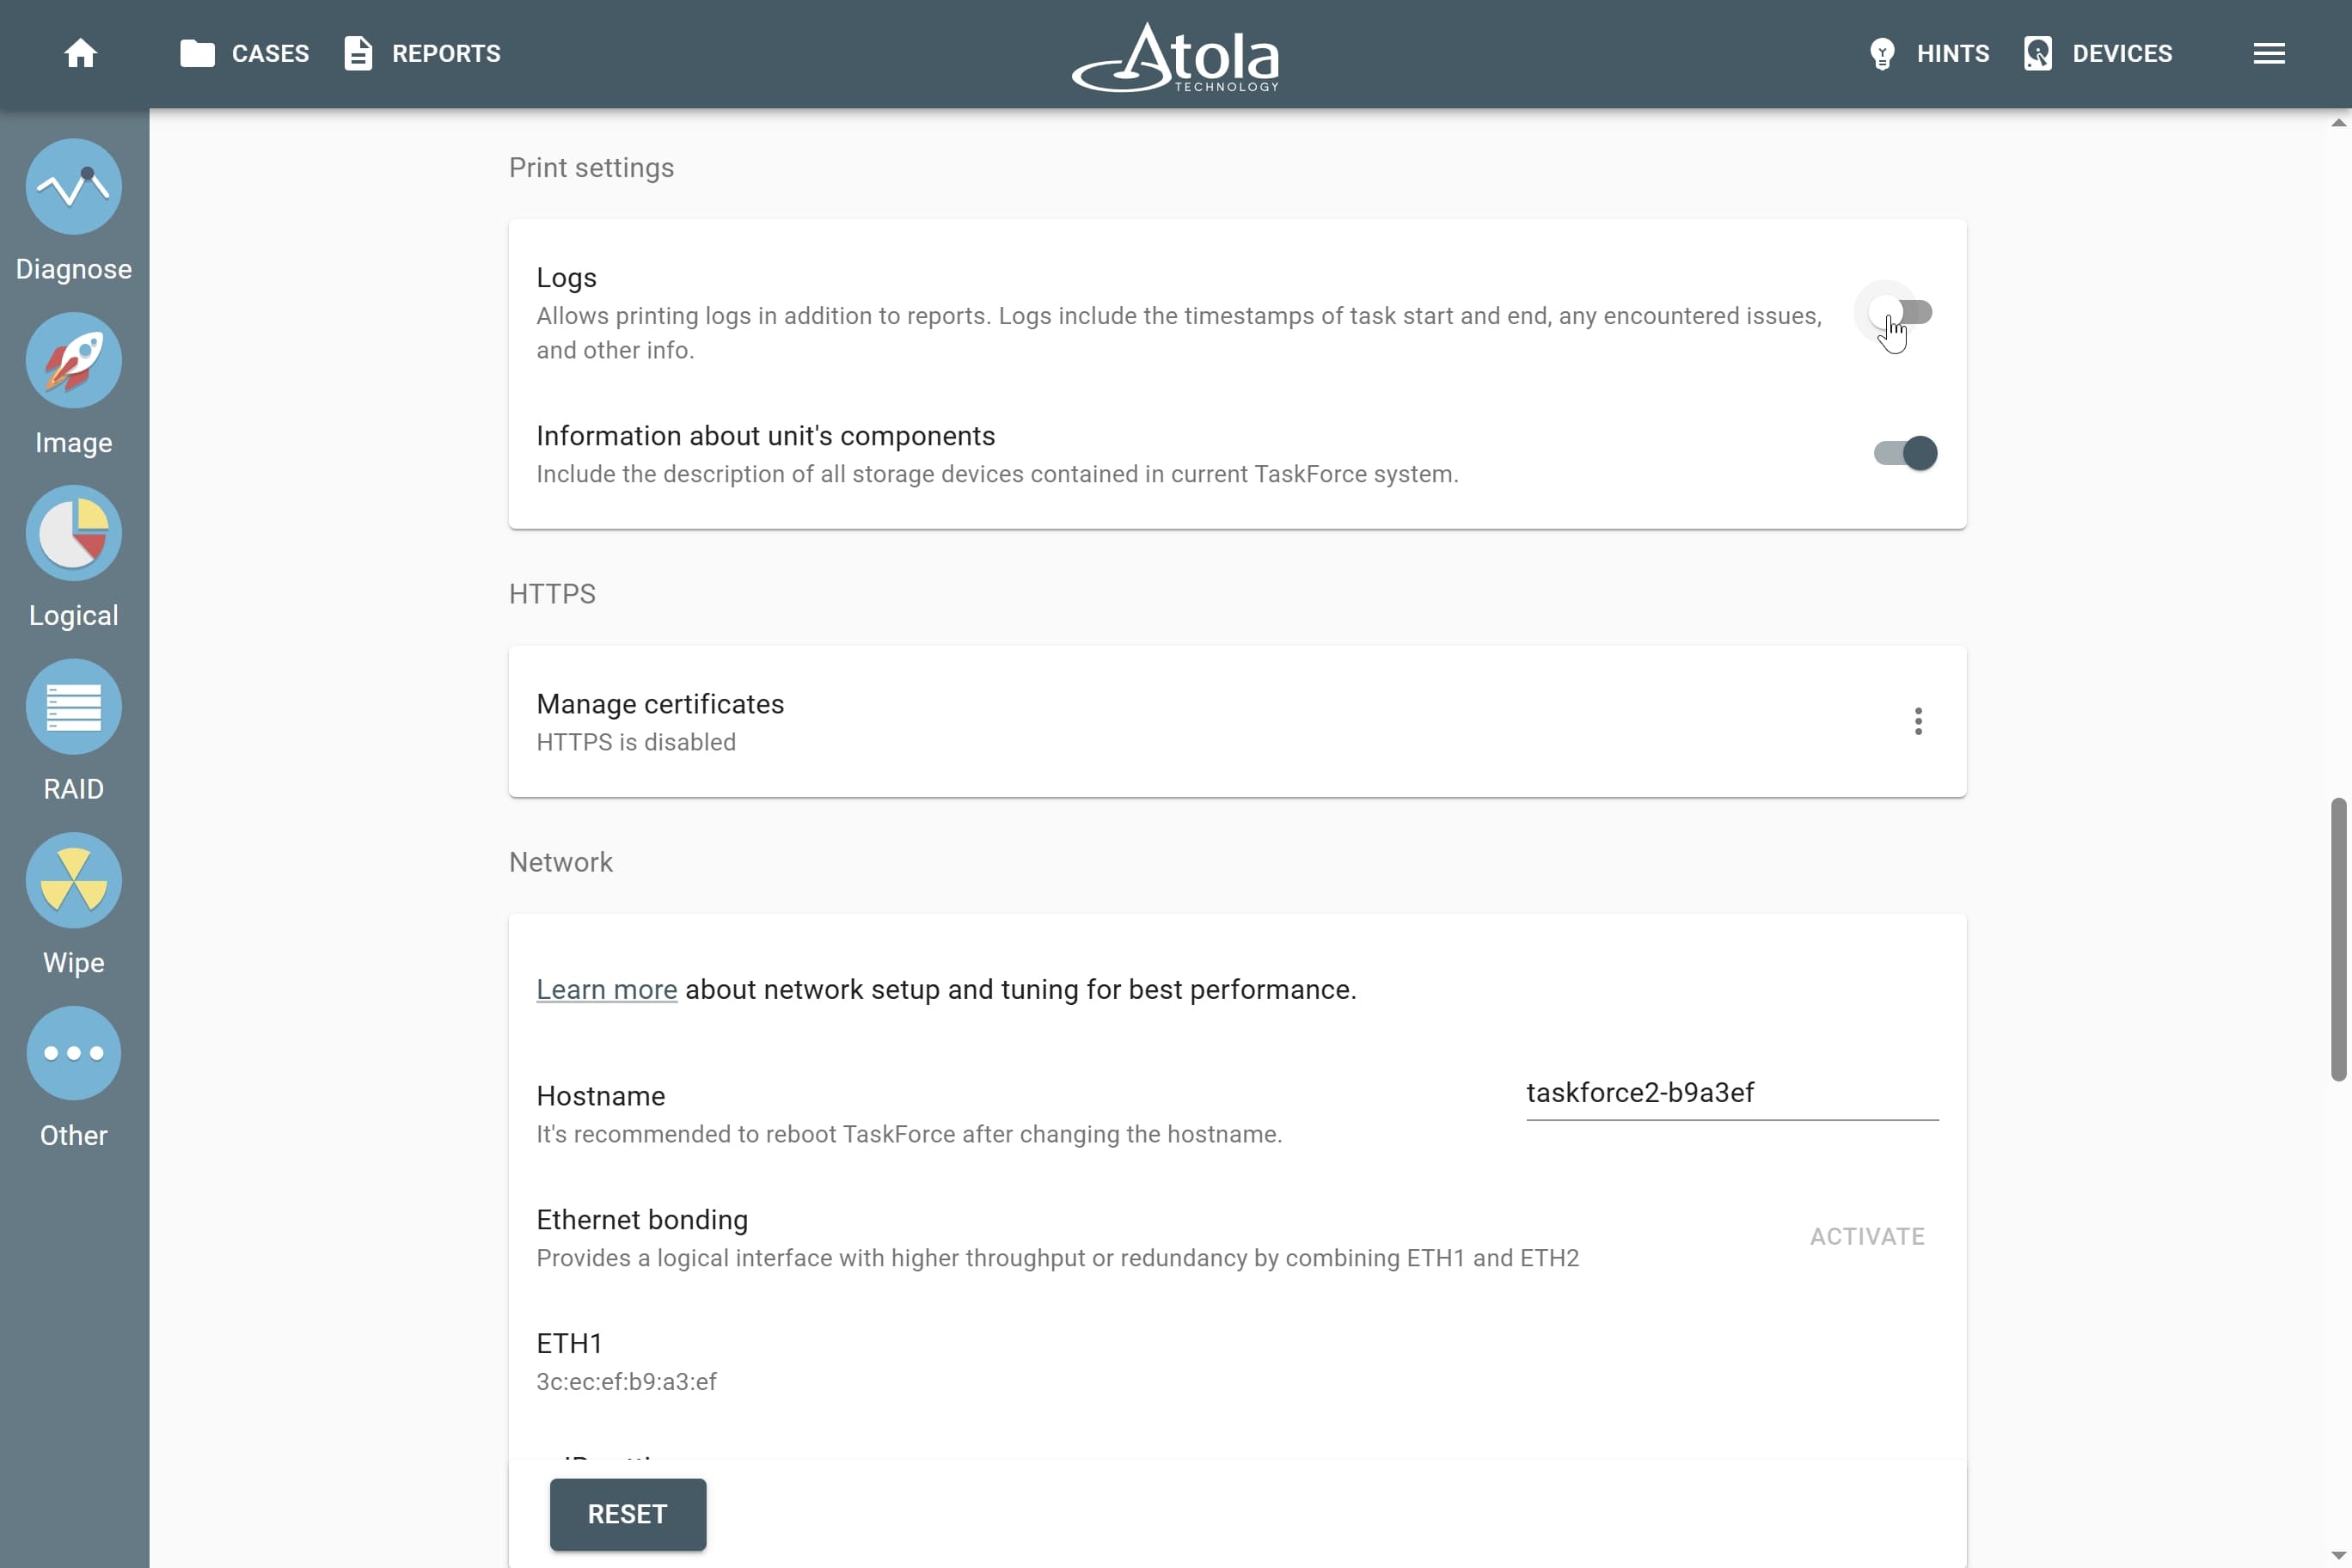
The Logs toggle in the Print settings section.
- After you click Print on the case page, TaskForce takes you to a page with full reports. There they are arranged in the same order in which they were listed on the case page (either by date or by title).
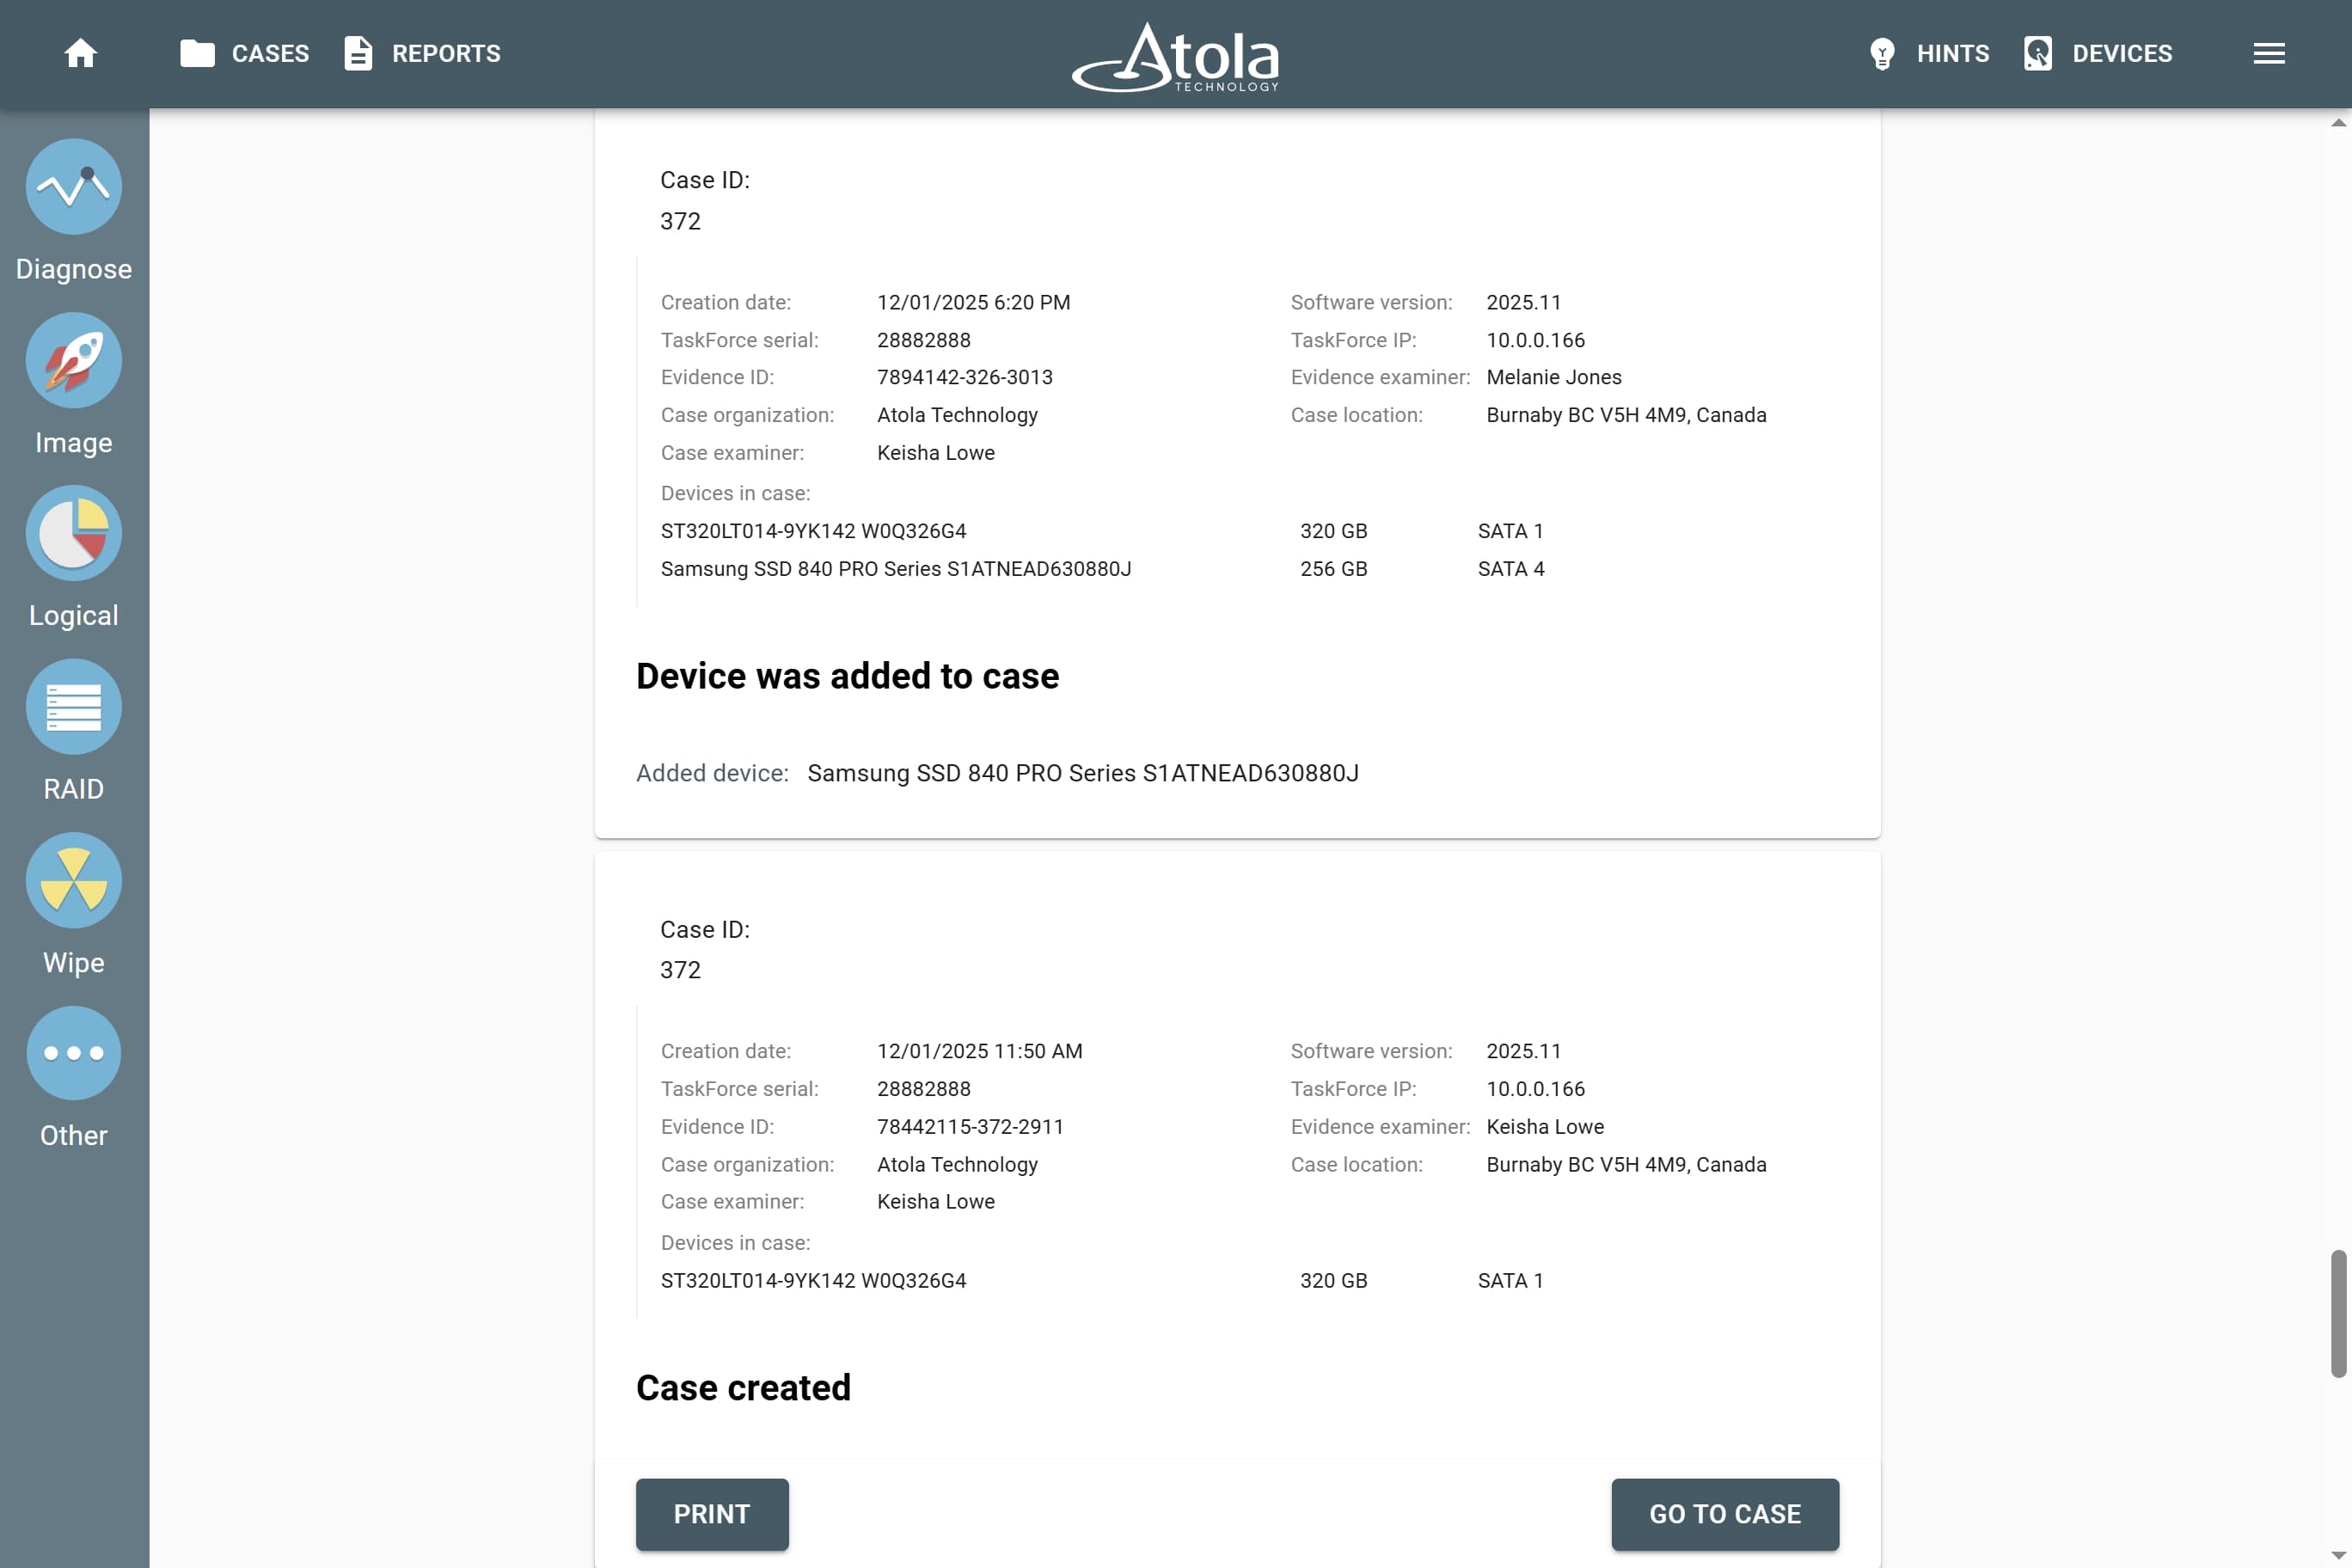
Generated reports.
If you enabled the Information about unit's components in Settings, the last report generated will include the description of all storage devices contained in the current TaskForce system.
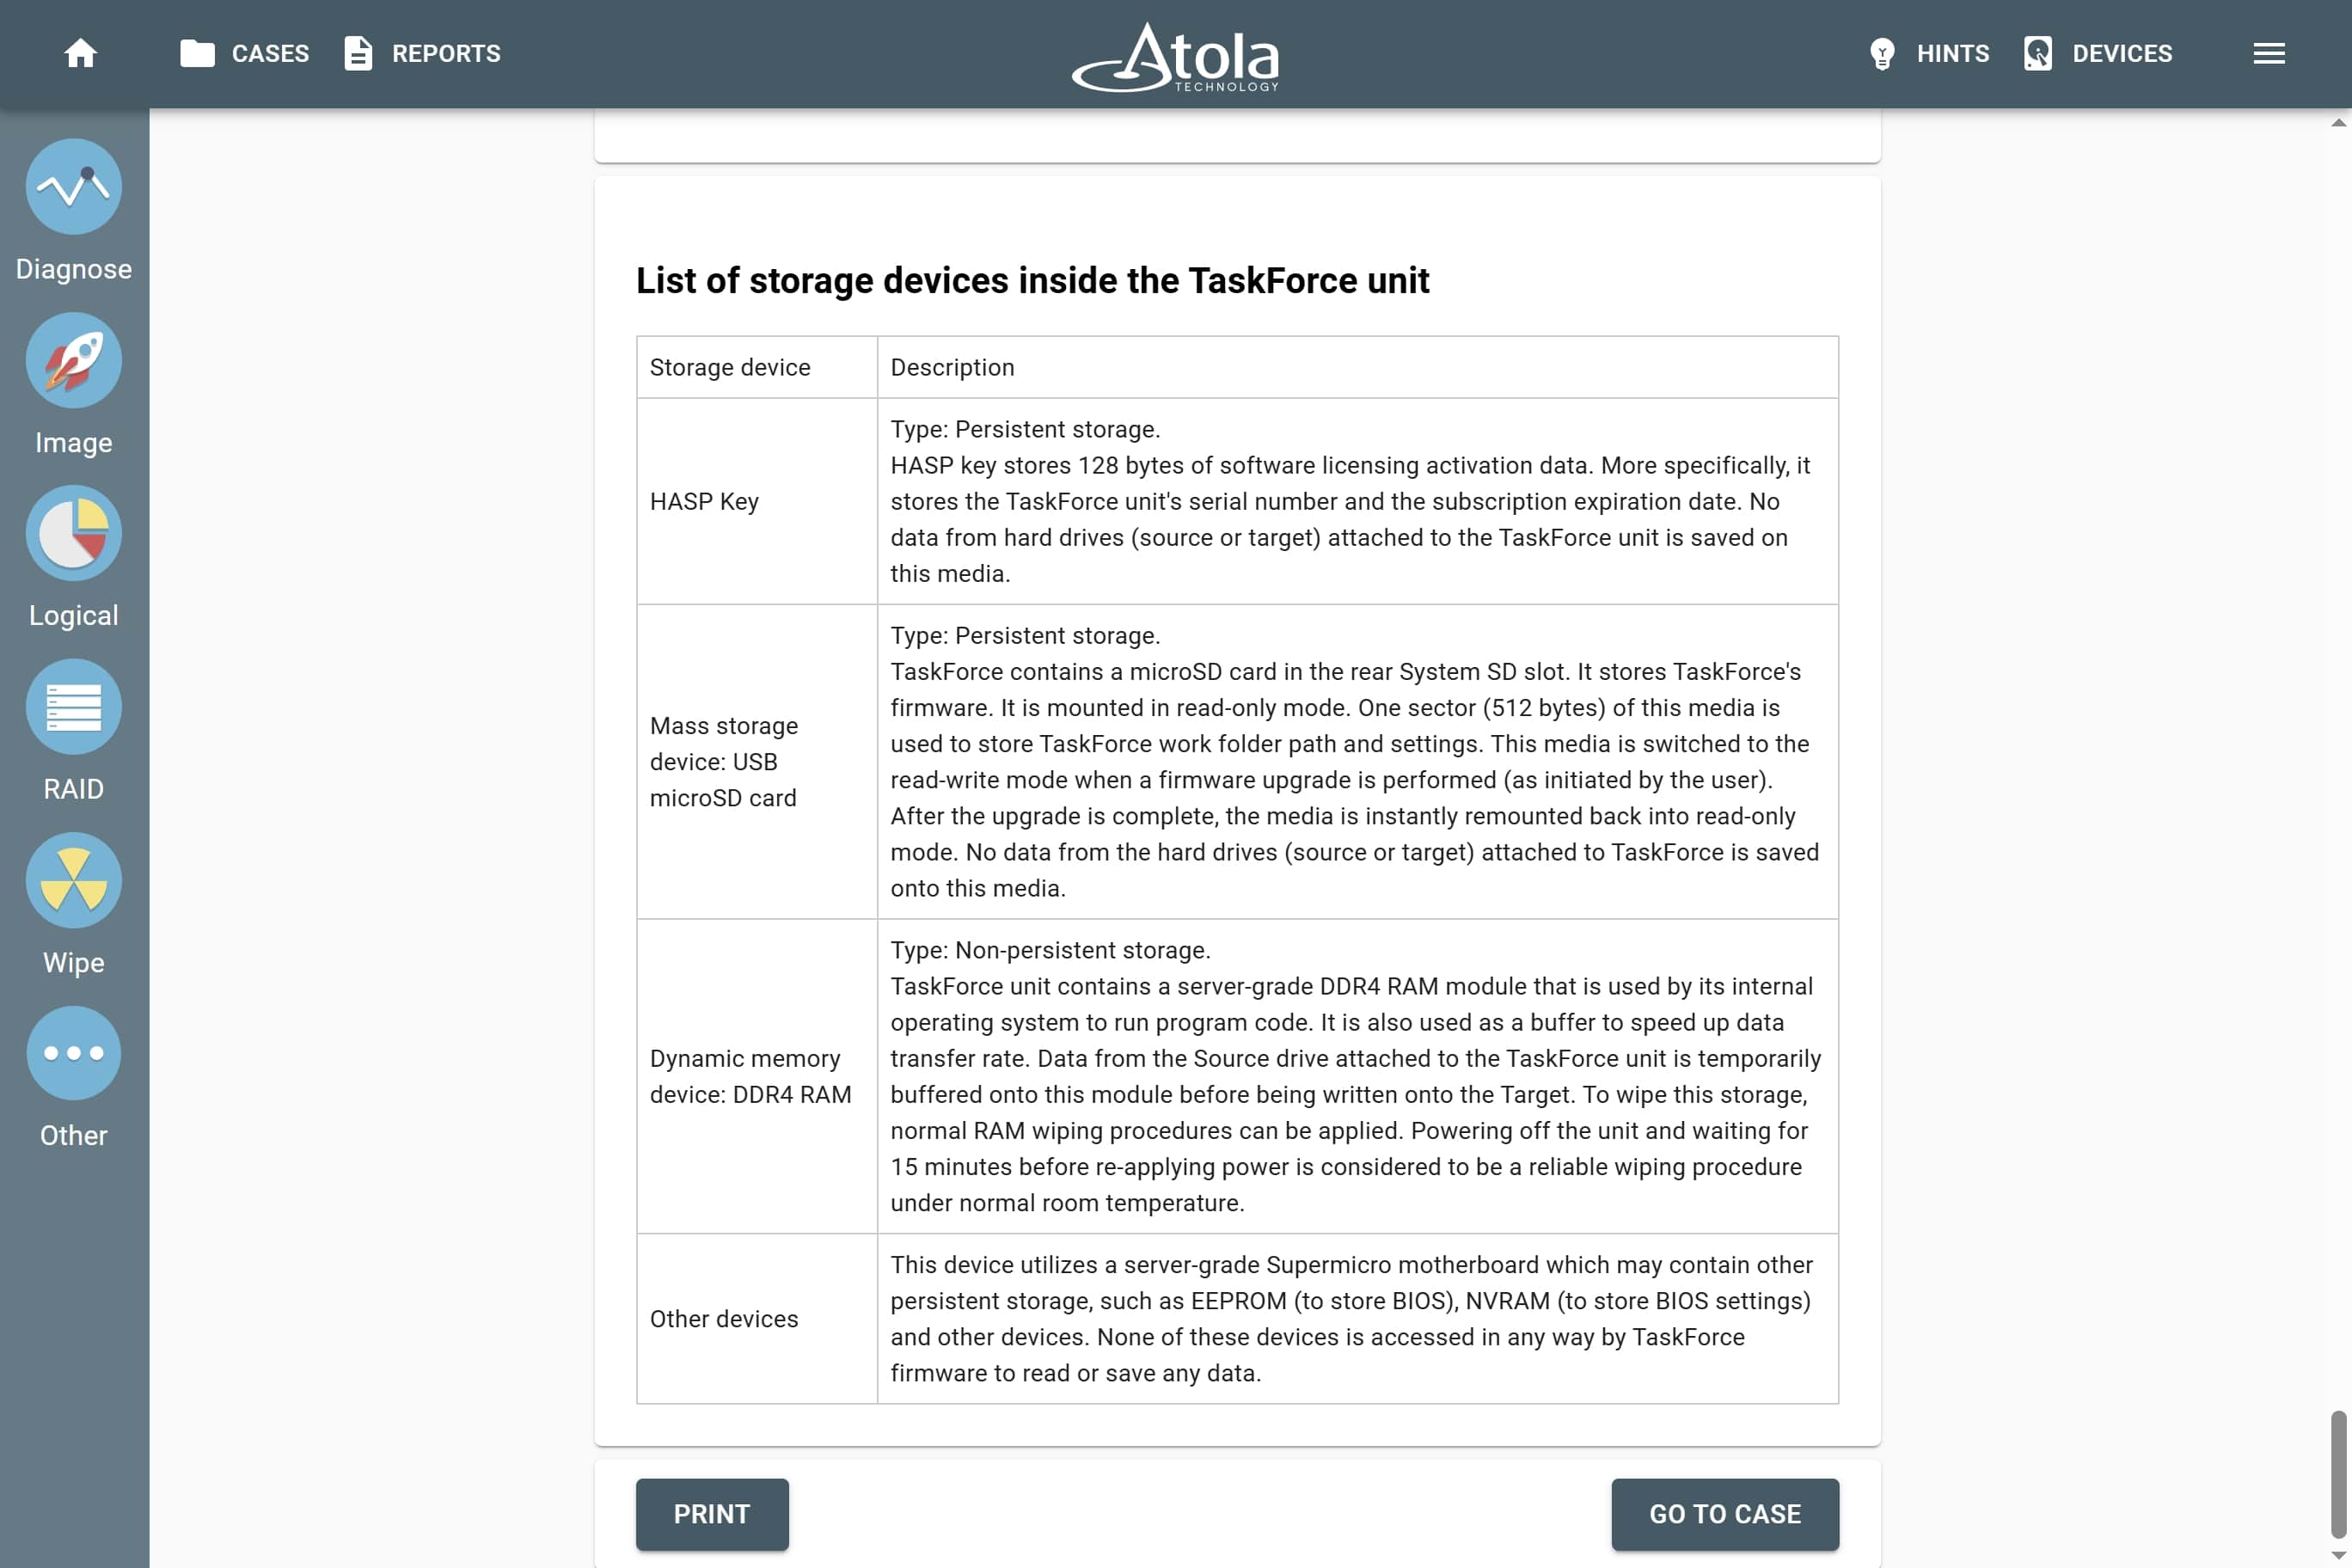
Generated report listing all storage devices contained in the current TaskForce unit.
On this page, there is another Print button. After clicking it you can configure printing settings.
Each report will be printed on a new page.